|
|
The kit was designed to beef up an already strong boat. It will improve sail shape and help performance. I don't recommend using a Backstay adjuster to bend the mast, as this might cause a permanent bend.
|
|
|
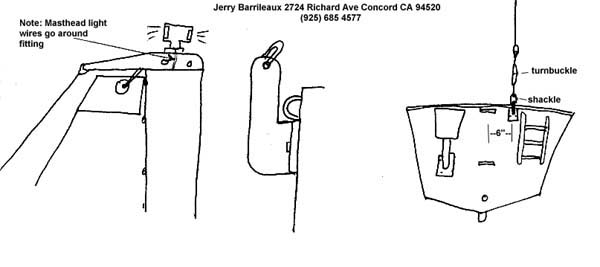
Remove the two forward bolts from the masthead fitting. Use a small punch or a nail to punch out the two pins on the stock masthead. Slide the new piece in from the rear and insert the front bolt. Make sure it goes through the sheeve. If the rear bolt doesn't quite fit, use a quarter inch drill to ream out the hole. Tighten the two bolts and put some oil on the sheeves and, Presto, you're done.
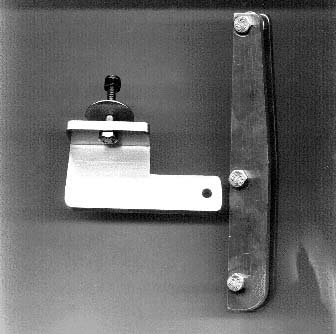
Installing Hull Fitting
Place the fitting on the transom about six inches from center on the starboard side. Drill two quarter inch holes through the hull. Put some silicon sealant on the fitting and bolt it on using flat washers for back up.
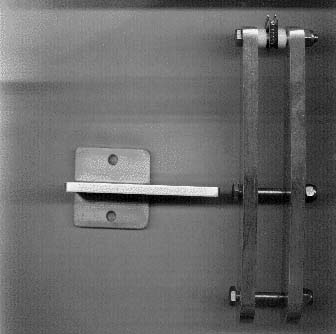
Tie the end of some eighth inch line to the mast head thimble and raise the mast. Tie the other end to the transom mount; this will give you the measurement of the cable. Allow for a turnbuckle and a shackle. Fabricate the backstay cable from one-eighth stainless wire using swedging tool and thimbles. The more flexible cable works fine and is easier to coil when trailering. When your backstay is installed, tighten just enough to take out the slack.
Happy Sailing!
Jerry Barrilleaux
2724 Richard Ave.
Concord, CA 94520
(925) 685-4577
Magico1@aol.com